Tuesday, October 25, 2011

CAS cards and Kanzashi flower tutorial

hello peeps,

      Today's cards are completely CAS- All of them for CraftyJC. Though CAS is not my style, I occasionally enjoy making them.. :)But then, I have to restrict myself, the feeling of adding something more to the card.. :)

     This is a simple Pattern Paper weaving, with scraps of leftover PP.Nothing much to say abt it..


     This card is stamped with the Stampin up Best Dad Ever stamp set.. I love this set!and I like the dash of red in the card.


This card is also from the PP scraps.. The Butterflies are PTI diecuts,RAK from P.I am playing along this week's PDCC#104 colors
and MyTimetoCraft-White

WeeMemoriesWMC#73-Free for all


Hope you liked the cards!

Today's Tutorial

This is the tutorial I made for my Featured blogger post in Kavitha's blog.Kanzashi flowers can be made in satin cloth, ribbon,velvet and paper too..

Take felt in 2 colors(can be done in single color too)


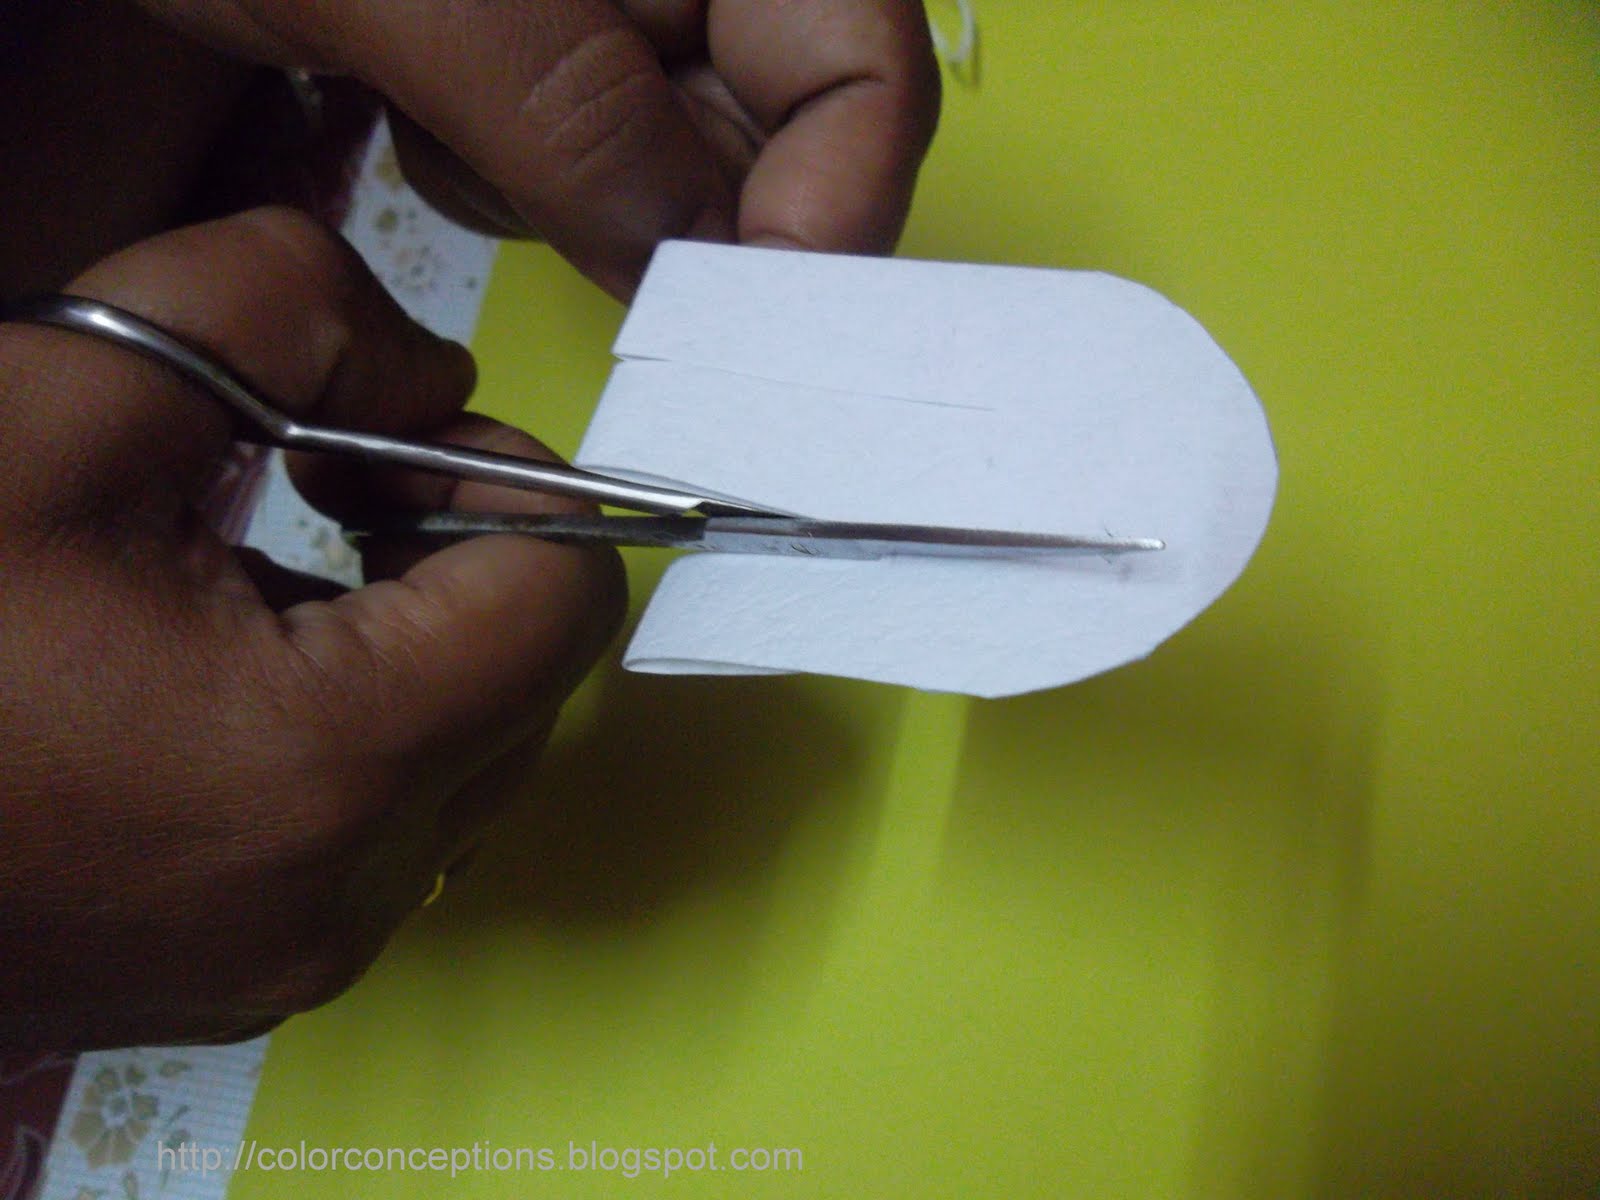
Cut small squares with it.. need not be perfect, you can also try with circles.. it gives a different flower :)

Fold the squares in half

Join the below two ends


Secure the folds with safety pins


After it is done for all the 8 pieces, Sew them one by one ,removing the pins

Sew together the last petal with the first one and knot it below

Fill the center with button or brad or any other embellishment. Finally, the Kanzashi flower!! Is nt it gorgeous?!!

Monday, October 24, 2011

Happy Diwali and some happy news!!

Hello ppl,

     I would like to share some good news with you all.. First of all, I won Ujjwal's, thank you giveaway!! Yay!!!!She announced it on Facebook, before she went on vacation..:))Thanks Ujjwal!! Will be receiving it after she comes back .. :)


     Next is , I am the guest blogger of this month in Kavitha's blog.Please go and check out my interview there.. :))

     I received a card for my birthday from our blogger pal Dr.Sonia.. Our friendhsip has started recently and I find one real good friend in her... She is a darling ..:)This is the card she sent me.. It has a honeycomb flower inside.chk out some great tutorials for this fabbie card in her blog.She also sent me a pack og fibres..:)


I got this sweet card from Sudha, on behalf of ICR..Thanks ICR!!


Finally, all Diwali works gng on and I am real busy at home..Blog land is a little silent this week ,might be for this reason.. So wish you all a Happy Diwali!!Enjoy with family and friends..:))

Friday, October 21, 2011

Fiskars corner lever punch usage

Dear all,

     I got a few tutorial requests asking, how I use my Fiskar's corner lever punch-Lattice, other than corners.I felt this deserves a separate post, as it is picture heavy.

     I am very choosy ,when it comes to punches.. I buy a punch, when I could imagine using it in a number of ways again and again and keep it busy.This is one such punch,I completely adore and repeatedly reach for my cards!!

This is how the punch looks like

For this and all the below ways,the white corner guides should not be used.
cutting borders with the punch
     We can see, where exactly it punches and so adjust it right next to create beautiful border!.


Making decorative circular frame

This is my favourite using this punch!!

     Cut a 3.5" circle from a paper and cut out a circular frame now, outer circle need not be accurate, as you see in my pic.


Punch around the circle from inside

The last punching would exactly finish next to first.. :))Gorgeous! is nt it?

Punching inside the circles

     I used the left over 3.5"circle from the above and created this.You need to punch from outside


Making square frames

     Cut out 6cm square from a paper and cut around 1.6cm width(If you skip this, you will not get decorative square).Sorry for the difference in punch out colors,I realized I have nt taken photo and shot it then.

Punch all the corners from inside.

Now punch the sides


Punching ric rac border by 2 side borders.

Take paper of required length and width 5.5cm.Punch border on both sides

Finally, a quick view of what all can be done with the punch!!!

Note: Whatever dimensions given here, are my trials.. You can try any different width,length and achieve smaller or bigger punch outs!!

Now, you ppl leave some feedback for the tutorial.. and any queries, pls leave in the comment.. happy to answer you..:)

Thanks for visiting.Happy punching!!

-Priya

Tuesday, October 18, 2011

Woven heart embellishment and Tutorial

Hello ladies,

    All of a sudden I had become busy!I made this card last week and finally squeezed sometime today to post a card for Create me Pink - Gopi's Challenge-Pink, white and black(Today is the last day to enter).This is her first challenge and All the best Gopi for your future endeavours!!

    You all know my newest favorite technique is weaving.. Following the line, I did some woven heart embellishments...and I really loved making it... Do try girls.. it is interesting!!


    The sentiment is from Inkadinkado,stamped with Melon mambo stampin up Ink!! I have to say..these inks are the best, I tried so far! The ribbons, buttons, pearls,rhinestones from stash..

Today's tutorial

This can be done as wall hanging also..Just a simple one for tutorial.. We can try this with many weaves.Thick card stock does nt work well for this.. Anything abt 150gms should be fine..PP are also good.

Cut 2 strips in different colors, 1.5"* 5"


Fold them in half, and cut semicircle in the ends


Cut at 0.5" intervals, till 1.6" each.


Keep one cardstock unmoved.weave the other around the first.
First row- go around, inside, around again.


Second row- go inside, around, inside


Third row :around, inside, around


This is how it looks inside


for wall hanging.. :))


Hope you enjoyed the tutorial as much as I did.. Pls leave some feedback..
Thanks for visiting

-Priya

Saturday, October 8, 2011

Never ending Birthday card and Scallop circle ideas

hi there,

        This is the never ending card I made for my son's Bday.. but somehow got around not posting it..Paper Trimmer has been on my wishlist for longtime now and I felt the need for it more, with the measurements and scoring in mind and hand...After finishing the card, I congratualted myself for being able to do without it :))
    My son loved it so much, he was turning and turning it again and again with a giggle.. I enjoyed watching it more than making..Click here to see how to make the card.

First page..
My son is a skater and so is the stamp.The Bday images from Fiskars..paper- itsy bitsy.

The second page
PP from Papermania,itsy bitsy.. cloud from scallop circle and the stickers from Echo Park

The third page
Sorry some 7Up got spilled up over the page..thats why looking messy.Again images from the same Fiskars set and some handcut outs..


The final page
The paper strips are from Papermania (for sale in my blog). Yummy is nt it?

Let me know, if you like it.. and do leave a comment.

Today's Tip


Some scallop circle punch ideas!


Thanks for visiting!

Note:This is a scheduled post. Will reply to your mails and comments as soon as possible

-Priya

Monday, October 3, 2011

Paper weaving and Ribbon weaving tutorial

hello ladies,

     I am the guest designer for ICRC11(yay!!) and I am so very honoured to be so.I found the rules to be a little difficult this time - CHALLENGE + TWIST - Create an Easel Card + Incorporate one/many/all of the basic shapes

     I decided it was gng to be retro style so that I can add circles and circles all over.. But I also wanted to add some other shape..!! I was mulling over it sometime..Suddenly it stuck!! (Ours is a weaving family by tradition..I have seen my in laws weaving beautiful silk sarees with the yarn moving side by side.. it is a treat for eyes to watch!! ) Ok.. so I thought why not weave a pp or ribbon.. So here it comes, for ur view..


    I gave a twist to the twist and made twisted Easel card lol..:)You can see how to make a Twisted Easel card here.Making retro embelli was another difficulty here.. I tried so many different things and finally was content with this..

    PP are from the DCWV Prints stack.(available for sale in my blog).Sentiment itsy bitsy.The rest from my stash.

Today's Tutorial

This tutorial applies for ribbon weaving and also PP weaving.

If it is a square weaving, you need to take a square card stack.. suppose, you want 5 ribbons in weaving and each of them are 0.5 inches, then you will need 2.5*2.5" cardstock and 3" ribbon.If it is rectangle, you need to increase the number of vertical strips.

Stick or glue the ribbon to the back of cardstock, on 2 adjacent sides.


Now, the first one will be a little diff to come by.. you need to take the first strip from one side and go over, under, over, under,over the ribbons in the adjacent side.

Similarly the second one.

Do for the rest of the ribbons.. you are done with ur weaving!! Small size will make a nice embellishment.. bigger one can fill up the entire bg!.

Hope you enjoyed the tutorial.. Thanks for stopping by.

Note: This is a scheduled post.. I will reply ur mails and comments as soon as possible.

-Priya
Related Posts Plugin for WordPress, Blogger...