Showing posts with label heart flower tutorial. Show all posts

Thursday, January 12, 2012

DIY Double and Triple pocket card

Hiya,

          How have you been doing? I am back with another post for you.. These cards are made with folds and has inserts.I saw double pocket tutorial in a blog and tried triple pocket on  my own.

        You will need a double sided A4 pattern paper. Just fold it and glue down.. .. cut the tags and insert..Easy and ready in minutes.My card for you to see.Do try it and show me the results.. :)


All the things used in both cards are from P's RAK,PTI borders,even the flowers.So,I do not know the line of PPs..he.he

Challenges


PIO - Manly Cards

SimonSaysStamp - Dots and/or stripes

HookedonCraft  - Try something new- this fold card

Make it Monday - Anything Goes

Party Time Tuesdays - Something New (pattern paper)

Papertake Weekly - Anything Goes/New (pattern paper)

Inspire Me Fridays - Anything Goes


Today's tutorial

Double pocket card
 Fold a double sided A4 paper in half, in length and in  width.


Now cut on 1 half of width as shown
 Fold the top left corner behind and fold the upper part in half as shown.
Fold the lower part in half and fold a diagonal(half of square) out of it.

Now fold the lower part towards up and glue down!Double pocket card is ready!


Triple pocket card

Fold a double sided PP in half both sides(length and width)

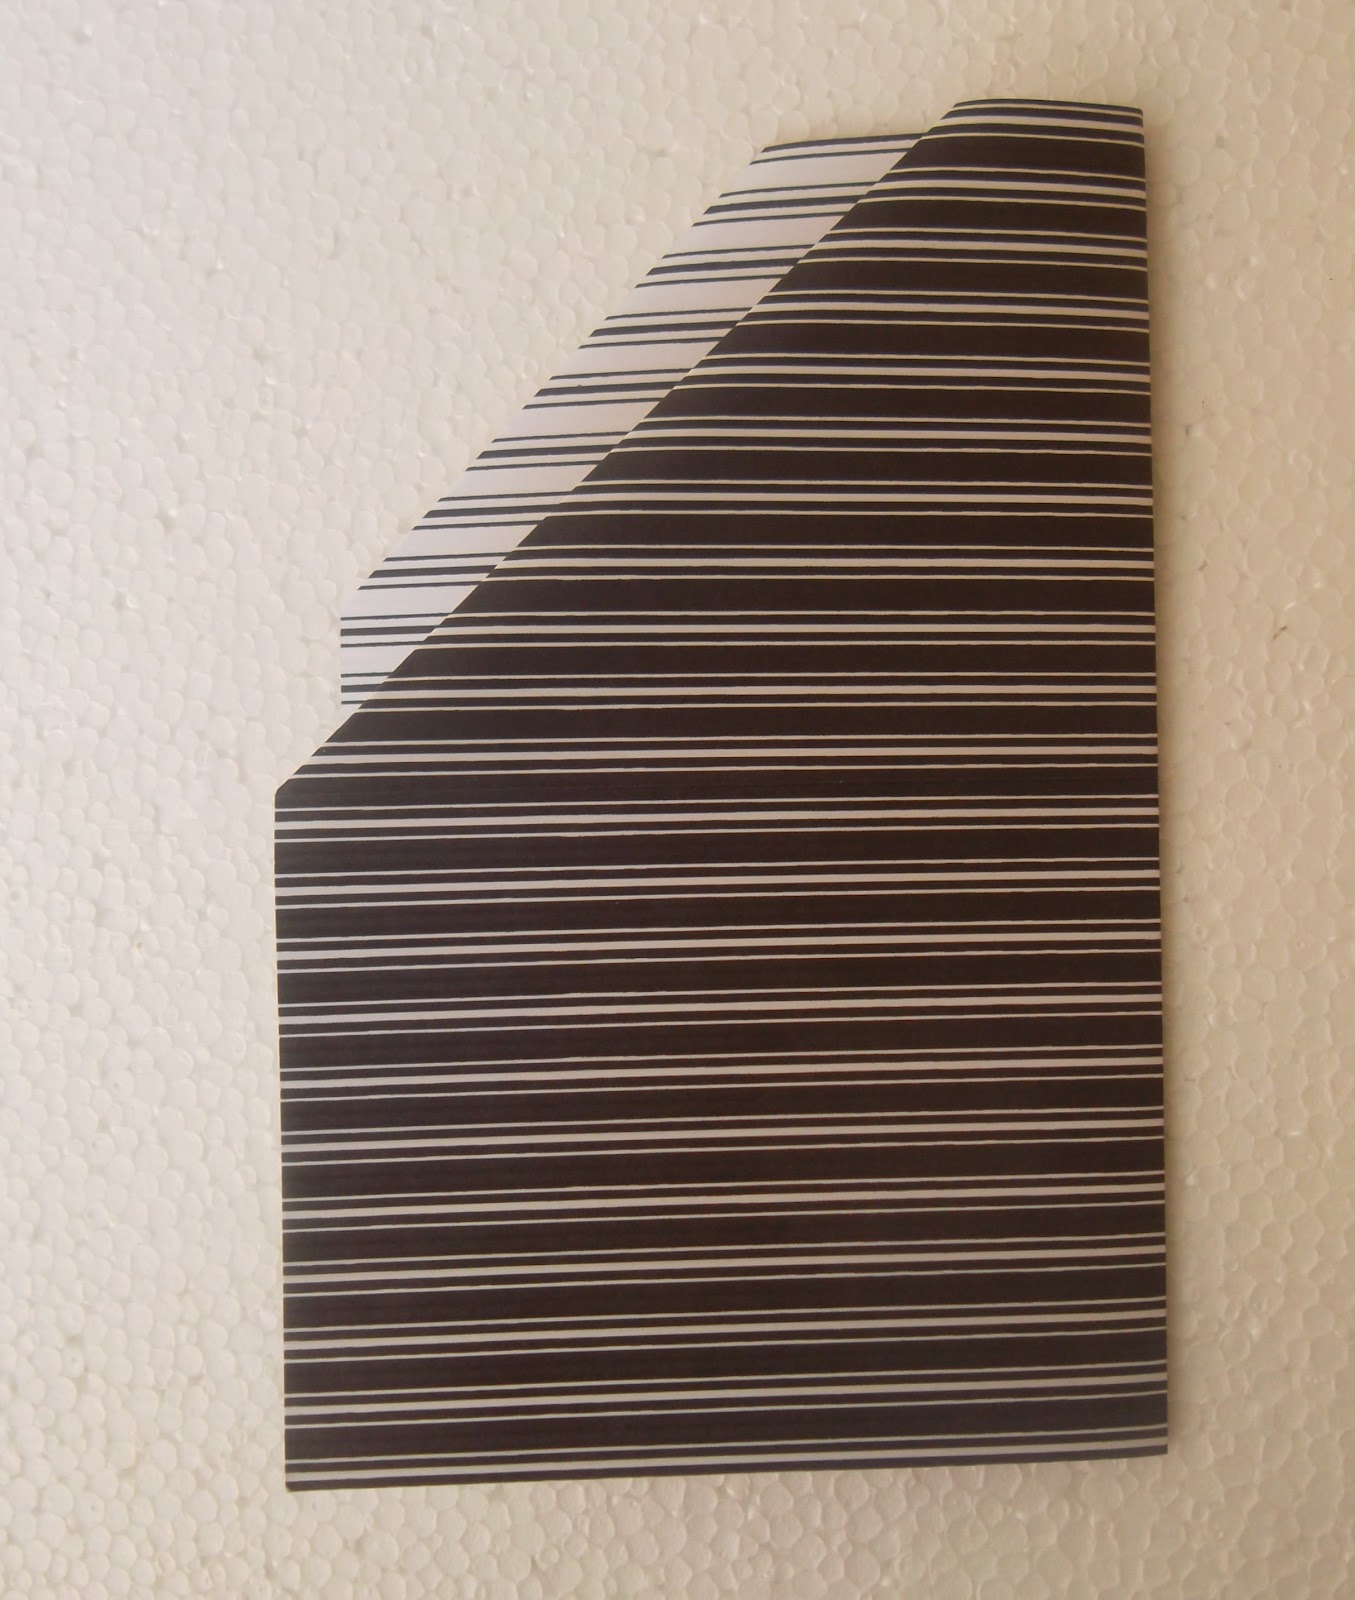
 Fold the bottom right corner behind as shown. Now turn   the paper other side and fold the top left corner behind.This fold should be1.5cm more than the previous one

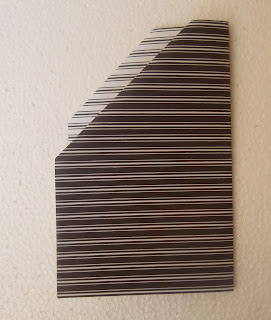
Fold the paper in half width wise and half again in length wise
 Flip it the other side.You will get as shown below
 Fold 1 sheet of the top right corner behind as shown.Glue down necessary portions and your triple pocket card is ready!!!

Thanks for visiting.Hope u enjoyed this tute!
-Priya

Wednesday, November 23, 2011

To Someone who makes others so happy! and 3*3 mini Tutorial

hiya,

       It is busy over here.. but managed to make a card. Our blogger pal Gopi is going to start her own line of digi stamps and so she is giving an image for free in CMP#4.I liked the image and decided to try a card with it..To my surprise, the PPRS sketch was perfect for the stamp! Was also itching to try the palette#1 in craftyjc. So I combined all the challenges and created this card.

I like the warm colors of the card and my first inked sentiment from Stampin up Petite Pairs..The die shape is hand cut!Colored using water colors, popped up the strawberries and ribbon with dimensionals.Colored ribbon with Sakura glitter gel pen and added a layer of Fevicryl glue n gloss , to give a bottle look!A close up to show the glaze and glitter!

Hope you like it!!

Today's Tutorial

Today we will see how to make 3*3 mini from 12*12 paper.Score at every 3 inch on both sides, till the ned of paper.. Now u should have 16 squares as shown in fig

Cut as shown in fig - red line
Now fold the paper back and forth, till u reach last and fold sideways
Again fold back and forth till the last square
Repeat it again
 
Finally u will have a mini as shown above!


Place a thick sheet 250gsm ,covering the above mini
Decorate it as u wish, with tags inside.. there are many  possibilities to insert tags.. Your mini is ready!!

P.S Today is my Blogoversary and I touched 100 followers!!!
Come Join the fun at my Use your scraps challenge!!It ends 30th Nov.
Please participate in the poll on top right corner, to see more of the tutorials u like!!
Thanks for stopping by
-Priya

Monday, September 26, 2011

Lace flower ,Tutorial- A Flower and Dye your ribbon

hi ladies,

Note:This is a picture heavy post

Hope you had a great week end!! Mine was busy with guests and a little crafting!!.. I have card for ICRC10 today.. I am so happy abt the way the lace flower turned out.. My second attempt in making sewed flowers(first one for ET's challenge) and my DH said wow!! The pink feather adds a touch of beauty to it!


and a close up


Pattern paper from Papermania.. I added some dots and flowers with gel pen to it..Sentiment from Inkadinkado All occasions, border from Fiskars corner lever punch and pearls and button from stash.The lace was in my stash for a long long time!

This card goes to,
digidesignblog - Make your own flowers
Ruby's Rainbow- for the girls
Ribbon Carousel -Fabric of our lives with Linda
Shopping our stash - no coloring allowed

Hope you like the card!! Please leave a comment!

Today's Tip

Today you have not 1 but two tutorials.
Tutorial 1:

I used this flower on top of the above lace flower.I dont know what it is called..I bought this in a cycle repair shop!!(if anybody knows the name, tell me) :)) yes.. My DH thought I am crazy!, when I stood in front of the cycle shop, to buy supplies.. :) I knew instantly, that I could make beautiful flowers with it..so here it is, for you to see in a card!

the inside of it is made of a thin rod, which can be bent.


You can bend a petal bend towards inside and the spacing is just right for bending the next petal


You can also make, 6,7 petal flowers..I find 8 petal flower is not looking so good.

Tutorial 2:

Have you ever searched for the right color or design of ribbon for your projects, but in vain..here is a solution!Dye and design your own Ribbon!!

Take a plain white ribbon and the ink pad color of your choice.

Now place the ribbon on ink pad and pull it through the sponge.Do it 2 or 3 times, till the color evenly spreads.. Do it again , to darken the color..

Take your gel pen and draw the designs you want.all the gel pens including the glitter ones work well for this.. Dont try to use markers, they spoil the ribbon

These are some of the ribbons I made..The green one in the above card, was also polka dotted similarly.. Now, I know, you are hurriedly scrolling to the top of the post!!

Do share your views on the tutorials.. Hope you enjoy them as much as I do!

- Priya

Sunday, August 28, 2011

Tutorial- Heart flowers diamond top card

hello,

I had been trying to post for past 3 days... but something or other keeps me from blogging.. so...here we go... This is another Diamond top Card I made , after this. The instructions for making this card is here.


I made this flower sometime back and it was sitting idle in a box...Found this apt for the top diamond.. I then cut strips in Echo Park papers and placed them diagonally.viola!! I love how the card turned out!!!

This card goes out for the following challenges
ICRC9- celebrate.
Lilypad- sketch for the top...(hope they accept this entry!!)
Phindy's place- make your own embellishment
Paper creations ink-show us your flowers

Please do comment to tell me you like it or not!.

Today's Tip:

I am gonna teach you how to make the above flower.. It looks beautiful on cards and what more? it is easy!! You can do this in big and small sizes(depends upon the size of heart)You can see a smaller version of this flower in this card.

All the hearts in the flower are hand cut.. just fold the heart in half..

Tuck one heart inside other as shown in the figure.Before that,apply glue on one side of heart..(except the first one,coz we need to tuck it inside the last one)


Now, you need to be really quick in doing this. The last heart might not have enough space or more space(the bg would show).. adjust the other petals, so that make room for the last petal-- before the glue dries.Tuck first petal inside last. cover the center with another flower or button or as you wish!..

I am getting good response to the tutorials.. Thanks girls .. I love making tutorials for you too...Thanks for visiting..


- Priya
Related Posts Plugin for WordPress, Blogger...