
I got a few tutorial requests asking, how I use my Fiskar's corner lever punch-Lattice, other than corners.I felt this deserves a separate post, as it is picture heavy.
I am very choosy ,when it comes to punches.. I buy a punch, when I could imagine using it in a number of ways again and again and keep it busy.This is one such punch,I completely adore and repeatedly reach for my cards!!
This is how the punch looks like

For this and all the below ways,the white corner guides should not be used.
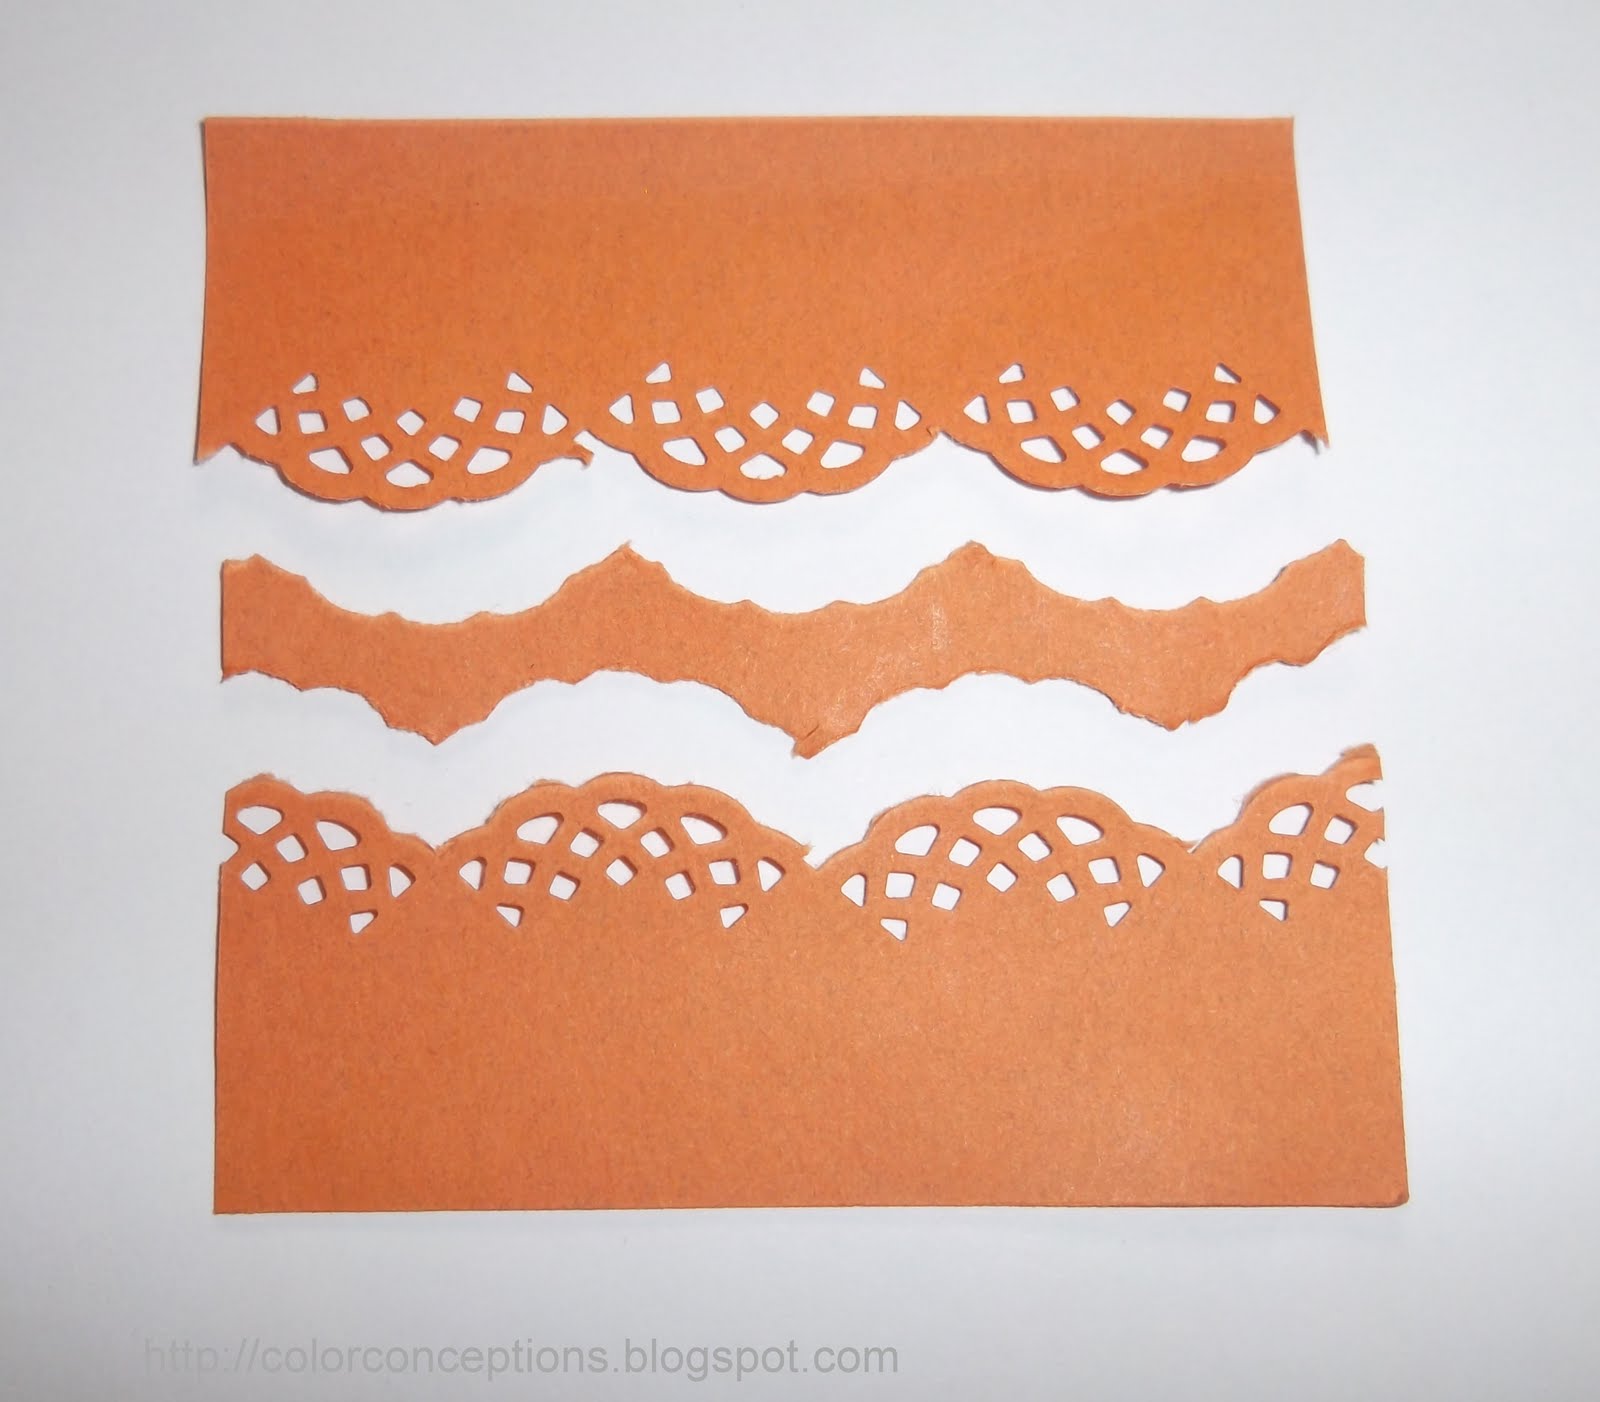
cutting borders with the punch
We can see, where exactly it punches and so adjust it right next to create beautiful border!.

Making decorative circular frame
This is my favourite using this punch!!
Cut a 3.5" circle from a paper and cut out a circular frame now, outer circle need not be accurate, as you see in my pic.

Punch around the circle from inside

The last punching would exactly finish next to first.. :))Gorgeous! is nt it?

Punching inside the circles
I used the left over 3.5"circle from the above and created this.You need to punch from outside

Making square frames
Cut out 6cm square from a paper and cut around 1.6cm width(If you skip this, you will not get decorative square).Sorry for the difference in punch out colors,I realized I have nt taken photo and shot it then.
Punch all the corners from inside.

Now punch the sides

Punching ric rac border by 2 side borders.
Take paper of required length and width 5.5cm.Punch border on both sides
Finally, a quick view of what all can be done with the punch!!!

Note: Whatever dimensions given here, are my trials.. You can try any different width,length and achieve smaller or bigger punch outs!!
Now, you ppl leave some feedback for the tutorial.. and any queries, pls leave in the comment.. happy to answer you..:)
Thanks for visiting.Happy punching!!
-Priya

wow nice tuts and nice blog Keep it up
ReplyDeleteanandhirajan
www.anandhirajansartsncrafts.blogspot.com
great tutorial Priya.. Thanks for sharing... :-)
ReplyDeletethanks a ton dear !!it would really be helpful :)
ReplyDeletePriya do you order these punches online?
ReplyDeleteWow thanks for sharing.
ReplyDeletehey! this is a really informational post. thankss!!!
ReplyDeleteGreat tutorial!!! :)
ReplyDeleteoh wow priya you are a genius ..my god the different way's you have used this punch,i never ever dreamed it could be used like this..thank you so so much for this wonderful tutorial..you are such a sweetheart:)
ReplyDeleteYou have the most amazing ideas Priya. Good for people like me who have no craft things to be proud of.
ReplyDeleteThese are awesome!! I have to get some more punches now! Thanks for sharing your wonderful knowledge of punches!!
ReplyDeleteNow this is so useful ...... Thanks for sharing Priya
ReplyDeletewow.. so good.. i always thought that we have to buy those border punches for creating such designs.. or diecut machines. .. :( I m in learning stage u know :) ..this was so useful for me.. thanks for sharing it. :)
ReplyDeletePriya ..pinning this!
ReplyDeleteMissing your posts...whats up?